Finishing a crush grind mill
Apologies for neglecting my blog this month – as you can probably guess, I’ve been busy making and posting Christmas presents! However, I’ve just finished off a pair of crush mills, so thought I’d share some photos. In my last post, I’d turned the main components, leaving the lid to be completed. This is a little different, since I am using inlays of sycamore and walnut to separate the salt and pepper.
The photo above shows a lid and base, similar to those featured in my last post. Before I go any further, these are connected and sanded as one piece, giving a seamless profile. This is done using an adaptor in the chuck and some pressure from the tailstock…

Once I am happy with the surface finish, I proceed with the inlay. Using the pin jaws to grip the lid, I drill a hole on the top face…

A pre turned piece of sycamore, pressed and glued in place…
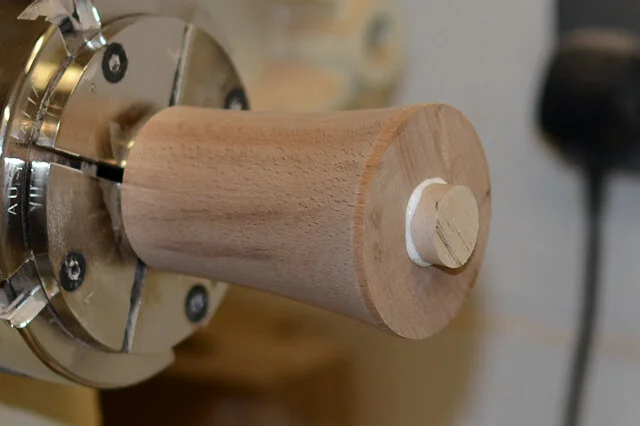
Having dried overnight, I turn the top to its final shape and sand the finished profile…

The finished components, oiled up with all internals fitted. These are pressed in place and don’t require adhesive…

A finished set of crush mills, ready for their new home…
